


I seen this amazing before and after of this Ikea Rast Dresser that I had to try out. It wasn't hard but it would have been a whole lot easier if I had just finished it all on day it was sunny instead of trying to wait the rain out. Here is what I have so far.
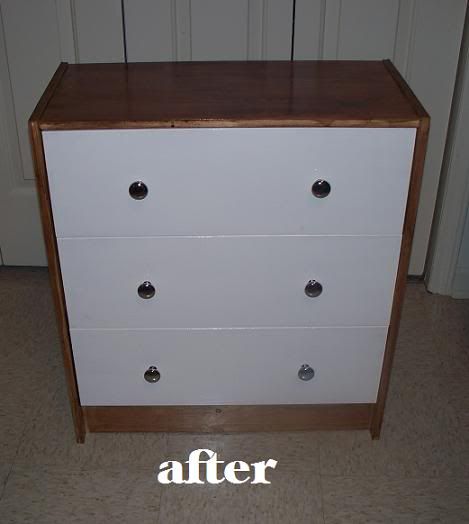
I used white high gloss pant on the front of the dresser, and stained it with antique walnut with polyurethane included on the sides. I traded out the wooden nobs with silver ones. I didn't get the stain as dark as I wanted it, but I can always try again later. After everything the cost for this dresser was around $50. I thought about getting another one and putting them side by side to make it look like a 6 piece dresser but that's another day and another project :)
Have a before and after you'd like to share? Send it to me at: amberupbeat@aol.com
with the title of "Before and After" and I'll post it on the site.
No comments:
Post a Comment
Thanks so much for visiting and feel free to leave a comment!