January 29, 2011

D.I.Y | Dye with Tea

For my current project I needed to dye the fabric to give it a more antique look. Instead of spending money on dye I used this simple mess free method to get that antique effect.


What you'll need:

  • Individual tea bags (about 6)
  • Large Pot or Sauce Pan
  • Canvas bag or any white cotton fabric
  • Tongs or Large Spoon

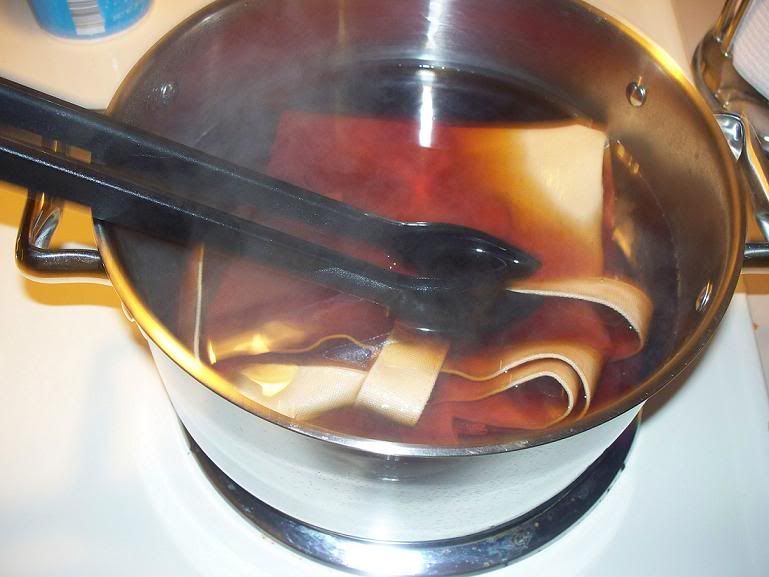
  1.  Boil water, reduce heat and steep 6 individual packets of tea (more if you want a darker shade.)
  2.  Once it is at the desired color turn off heat.
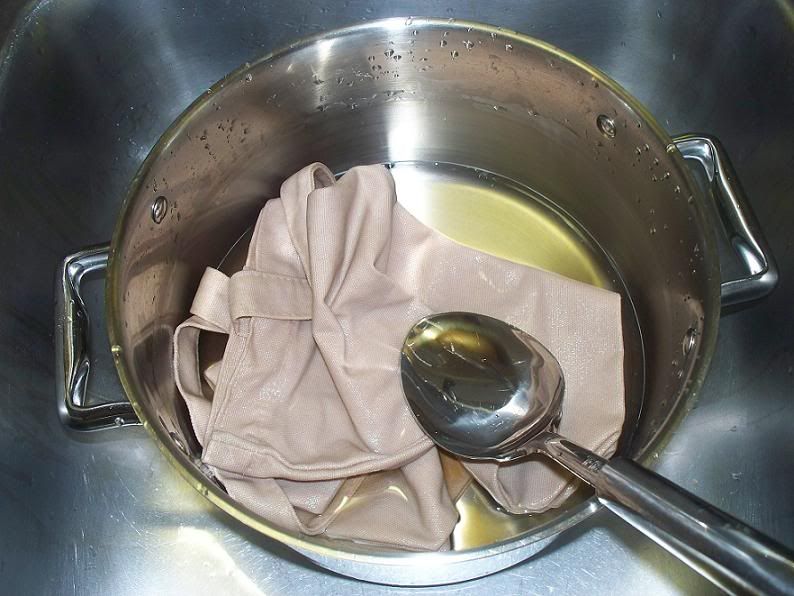
  3. Submerge fabric in the tea using tongs or a large spoon to keep it under the tea water.
  4. Let sit for at least 10-15 minutes.
  5. Drain the tea water and rinse the fabric under cold water.
  6. Twist to get as much water out of the fabric and let dry (either by using a dryer or hanging)


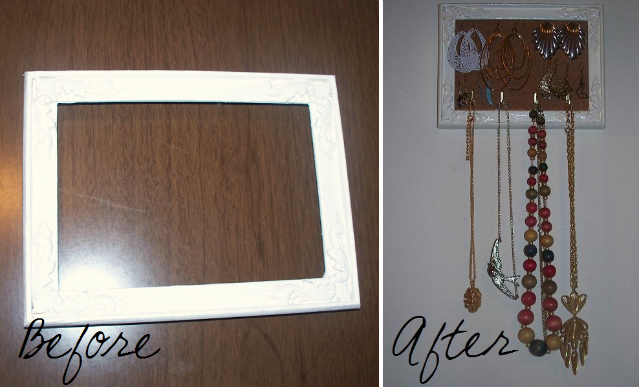
What you end up with is a tan/beige tone for your fabric at a very low cost.


January 9, 2011

It's times like these...


I wish I had a house with a fireplace. They're calling for a major snow storm tonight, and that's not the bad part, freezing rain is suppose to come after all that snow. Now snow in North Carolina isn't fluffy but very icy and stays on the road. It's hard to drive on until someone clears it off or if you have a monster truck with four wheel drive. When you add freezing rain into the mix you're basically a prisoner inside your house. There is also the huge chance of the power going out and having no heat. A nice warm fire place would be super great even right now with the power and heat on. Oh well I'll have one someday. Everyone keep warm and have a happy Monday tomorrow!

January 8, 2011

D.I.Y | Jewelry Frame


What you need:

  • Photo Frame 
  • Cork Tiles
  • Push Pin Hooks or Decorative Push Pins
  • Glue
  • Pen
  • Ruler
  • Scissors
  • Cardboard


1. On the back of the cork tiles roughly outline the photo frame and cut out.
2. With the ruler measure out the photo size the frame is suppose to hold and cut out.
3. If your tile is in pieces go a head and glue the edges together. Let dry.
4. Glue the cork into the lip of the photo frame.
5. Cut the cardboard to the same size you did for the cork and slide in the back of the frame like you would the picture.
6. Put in decortive push pins or the push pin hooks near the bottom of the frame (push it slightly through the card board but not where it pokes out.)
7. Hang up on a wall and hang your necklaces and earrings on.


If you have any questions or want to know where to find the material feel free to ask.

January 1, 2011

Just wanted to wish everyone...

Happy New Year!!

I tried to keep my new years resolution positive so I can actually accomplish them. First thing is eat more fruits and vegetables, and second is spend more time with my family. What are some of your New Years resolutions?

LinkWithin

Related Posts Plugin for WordPress, Blogger...