April 7, 2011

Vintage Finds

Here are some of my vintage finds that I've collected through out the years. I just thought I'd share with you these unique and amazing pieces.

This piece I found at the local Goodwill for $1 or so. It originally had a red background, brown/gold edges and the girl was creme colored but after bringing it home from college it broke and I had to fix it. The  glue showed so I sprayed it just one color. I'm thinking about spraying it again but I'm not sure what color. 

I started a hope chest (a box with pieces for my future dorm/apartment) when I was a teenager. My cousin and I found these in a box at the Goodwill for $10. It was full of Cornelle dinnerware and came with tons of plates (6" & 8") a tea set with saucers. It had a sugar container, gravy dish and other odd pieces but there were too many missing be a complete set. We're using them now as our dinnerware
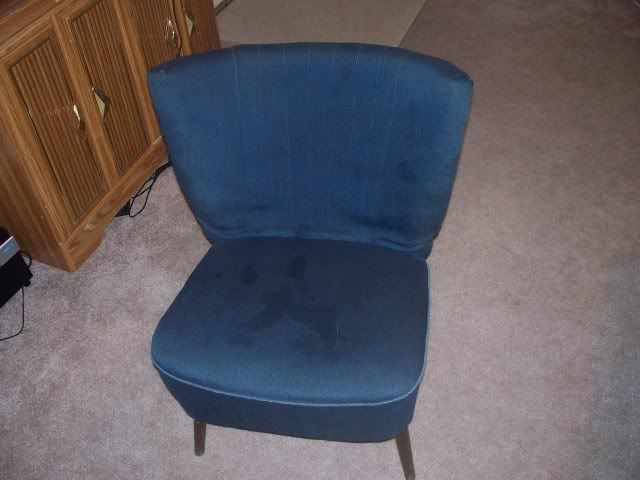
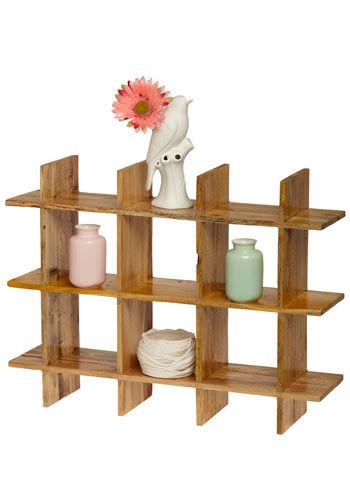
This was a steal at a local thrift store for only $7 and in good condition. It needs new fabric and more padding in the back. I'm not sure what color fabric to cover it in so I haven't done anything with it yet.
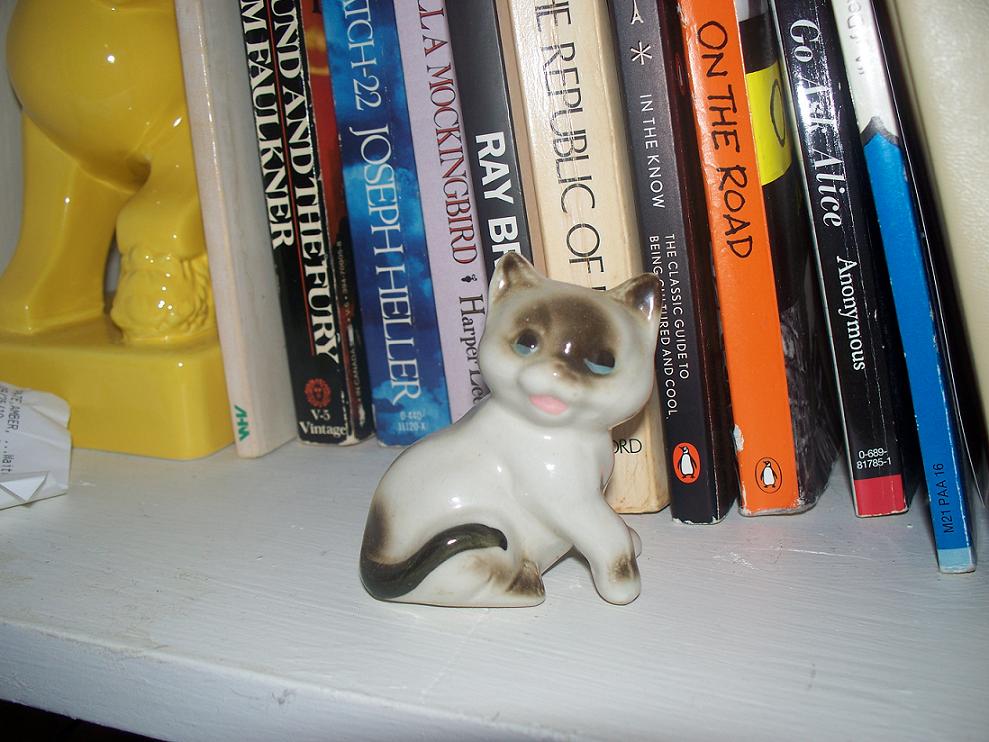
This little kitten was in my childhood home for as long as I can remember. There were actually a few of them but they were either broken or someone else took them. I think it's so cute and it's in perfect condition.

I bought this brass camel at the town's Apple Festival for seventy-five cents. I was a teenager when I bought it and don't know why I did. Regardless it has been part of my knic-knac collection ever since.

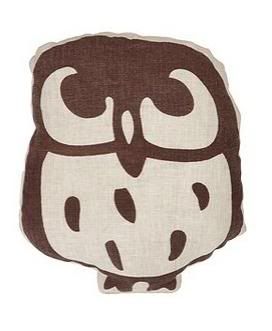
I bought the brownie hawkeye camera at the Apple Festival the same time as the camel for $15. It came in it's original box and looks to be in good condition, but I'm not sure if it works or not. The owl(s) came from this estate style vintage store for $2 or less; the store is no longer there but when it was there my mom and I would check it out every weekend.

April 5, 2011

I have this urge to sew.

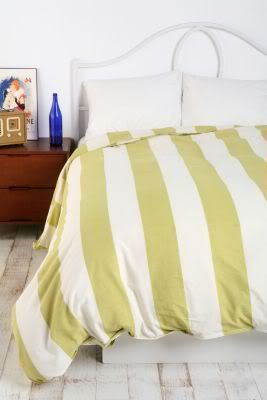
It's been driving me nuts but I don't have a functioning sewing machine and I'm too ocd to do big projects by hand. I really need to look into finding the missing part maybe order a new part OR just buy a small sewing machine to satisfy my fancy. I really want to check out this local thrift store and pick up some vintage pillow case and make them into throw pillows for the couch or something. I could probably do that by hand and not spend hours redoing it, plus I could send it in for that project restyle. So far I've done two restyles and I want to do more and probably would have if I had more time. I hate that I only have the Pick Fridays every week and wish I could do more for the blog but school and work are important. Oh how I can't wait for summer...I need to get some sun on my ghostly legs as my boyfriend called them (seriously they are very very pale compared to my arms and everything). Anyway hope to post more soon and see you Friday!

March 24, 2011

D.I.Y | Chic Planters

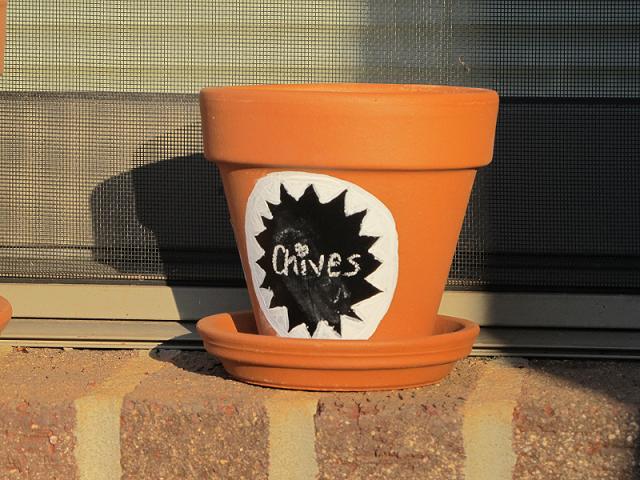
I  still have some work to do before planting my garden but I took these cheap boring planters and spruced them up with some chalk and acrylic paint. Yes I call tomatoes tom's because working in the restaurant business short hand kind of sticks with you :)


It was really easy to do, I just painted the chalk paint on, let it dry, then free handed the design with acrylic paint. I wrote with chalk on the fronts to help me remember what was in what until they begin to grow. Here is where I got my inspiration for the designs!

March 15, 2011

Wax Be Gone!

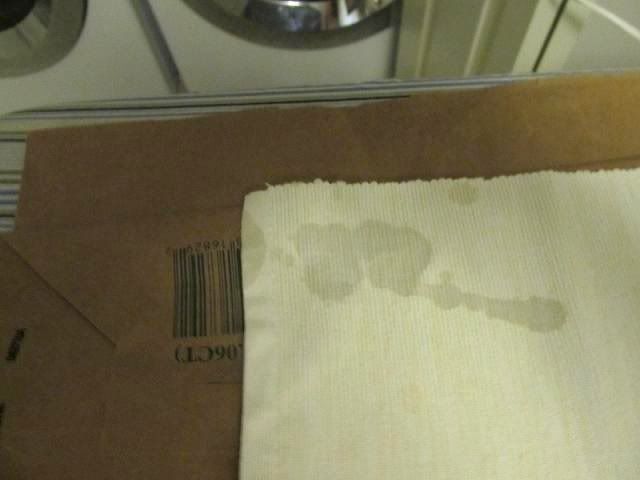
 As you may remember I mentioned I did the owl candle project the hard way and this resulted in wax getting on the new place mat we got the week before. I thought it was ruined and it was doomed to have the wax on it. Of course being me I couldn't live with that idea so I googled how to remove it and it worked great. Here are the very simple steps to get wax out of fabric.

This is what it looked like forever blobbed.

*From what I read this works best for non-colored wax.*

What you'll need:
  • Ironing board
  • Iron (on warm setting)
  • The messed up fabric
  • Paper bag or Papers


  1. Take the paper bag or some paper and place under the  waxed stained fabric. 
  2. Set the iron on warm (not hot) and go over the waxed area.
  3. The residue should appear on the paper. You may need to replace the paper depending on how much residue is on it.
  4. Flip the fabric over and to the same to the other side.
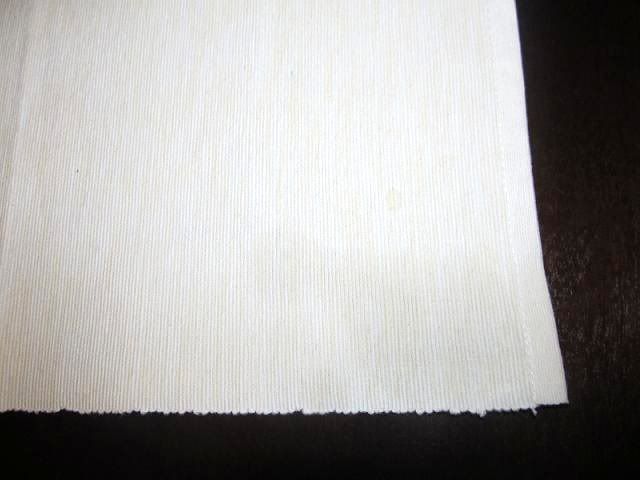
This is the end result and you can hardly tell a bunch of wax was spilled on it!

-Amber

March 11, 2011

Quick Tip

This came in handy when I was rearranging furniture in my apartment. This only works on carpets but it does a great job. I moved the sofa where it was against the wall but the legs left indents in the carpet that could easily be seen. It was almost like a ghost sofa in the middle of the room. Anyway simply take an ice cube and lay it on the indent(s) and let it melt. Once it melts it should be raised up enough to be "fluffed" back to normal by a vacuum. Sometimes it takes two tries depending on the carpet and the item that was sitting on it. Give it a try and tell me how it turns out!

March 9, 2011

Craft'n Bettie is now open!


I put five items up for sale on my etsy shop tonight.
Go check them out and get your pick!


March 7, 2011

D.I.Y | The Owl Mug Candle


Of course I did it the complicated way but I did discover a way to make it if the candle actually fits into the mug :)

I bought a candle because I couldn't find the wicks and I had to melt it in another mug to make it small enough to fit the ceramic cup. After microwaving it a few seconds at a time I then used tongs to lift the wick and candle out and into the other cup. I poured the rest of the wax in the cup and let it cool. It made a mess (that I'm still cleaning up) but it made an awesome owl candle. I'd advise you if you want to make something like this, measure the size of the cup first!

LinkWithin

Related Posts Plugin for WordPress, Blogger...